tl:dr It's damn freeing to think of something and then bring it into existence via blood, sweat, tears, sleepless nights, and really good friends.
There are definitely some philosophical implications in our ability as humans to turn the intangible into the tangible. I find it kind of sad that most people these days (and indeed, myself until this winter) don't have the automatic thought process "I need something?" "Sweet, let's build it"
Allow me to orient you, dear reader, a bit before we get into the nitty-gritty of the build:
The inspirations behind this cosplay were the wonderful trailers which preceded the actual RWBY series by a couple of months. Before the series proper debuted, these enigmatic accounts of four epic battles caught my attention. The weapons wielded by the main characters were creative, detailed, and above all not completely bound by anime physics.
In other words, I had a good shot of being able to translate them to the real world.
I almost immediately identified with Weiss Schnee, the character depicted in the 'White' trailer. She was solitary, blue-eyed, and above all a left-handed fencer. Kind of like me. For my first cosplay prop build, her weapon Myrtenaster seemed like a perfect fit.
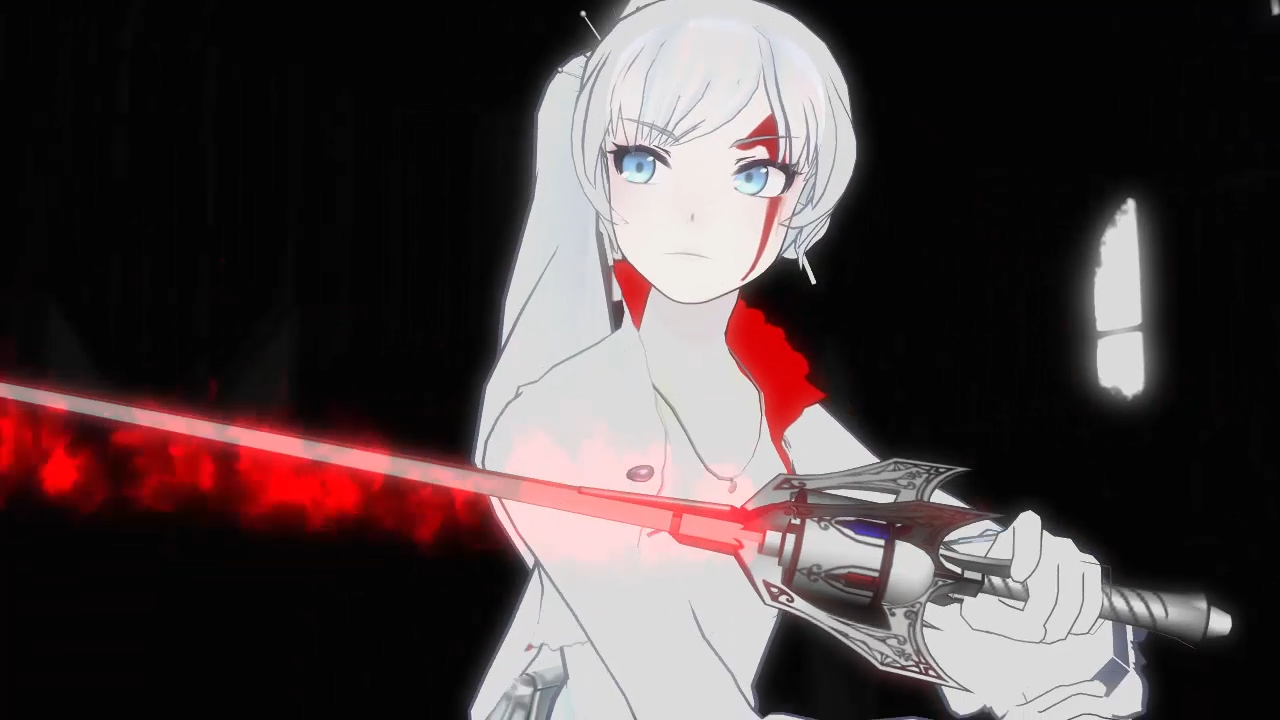 |
| Who doesn't want to cosplay a battle-scared heroine with a kick-ass rapier? |
And now the nitty-gritty details of the build.
Design
I was trying to build
 |
| This thing. Right here. |
You might notice that it is a metal rapier which, if translated faithfully to the real world, would be an excellent sparring weapon. Unfortunately, my first stop as Weiss was Anime Boston 2014, which wisely restricts the convention proper to non-lethal props.
As a result, I decided to focus on the magical aspect of the weapon rather than the sharp aspect. This relieved me of the need to find a working forge, but also meant that on first approximation I'd be effectively copying the designs of much better cosplay artists than myself. Not hugely exciting.
Unless I made my blade glow. Now that would be interesting.
In addition to being my first prop build, this was also the first time I ever seriously used a CAD program to create an object. I had recently discovered access to rapid prototyping techniques such as 3D printing and laser cutting and decided that the most effective way to use both was to CAD my object in a suitable program.
With this in mind, a design took shape in my head.
I would use EL Wire to make the blade glow. I'd need a seriously long string of wire doubled over inside the blade, and a battery pack inside the hilt to control the light.
The blade would be a thin, rigid plastic tube which would be spraypainted silver and etched in some artsy design similar to Weiss's final 'white' attack in the trailer. The EL Wire would show through these etchings.
The hilt would be a 3D printed barrel to resolve the gemstones and made hollow to hide the battery pack. The supports for the hilt would be lasercut to etch the details.
The grip would be an extension of the rigid plastic tube, taped and likewise spray painted.
I did not immediately think about the pommel or tip of the blade, kind of figuring that I'd work those out as I went along. But the main components of the blade were set before I even opened a CAD file. It was in my head. All I needed to do was bring it to life.
Build
The CAD models (below) of the blade chamber were 3D printed using some clear material that this guy -- etotheipiplusone.net -- provided and suggested. I had at least three iterations of this made (forgot to account for the battery pack in the first two). |
| Mmm, CAD models. |
 |
| Mmmm, modified CAD models. Hole is for the square EL Wire battery pack. |
There was a similar iterative process with the supports of the blade hilt. As you can see below, I did not design these for something to go in between them (for instance, say, a blade) the first time around. Moar CAD modifications!
 |
| 3D designs turned to prototype blade chamber (white) and scrap wood hilt detail (brown). Both redone before the end. |
Turned out that the hilt detail was easiest done as a simple vectorized image and thrown on the laser cutter from there. No CAD model required in the end! I used the reference below to trace over the etchings for the blade supports.
 |
| Hilt design detail, vectorized in AutoCAD, but had I access to Illustrator that would have been easier. |
 |
| Final cut of hilt design, complete with etched detail |
 |
| Close-up of the etchings. The wonders of ten extra minutes with CorelDraw. |
 |
| Same deal with the emblem design. Laser cutters are life savers for details like this. |
The plastic tube was chosen from a selection on McMaster -- I kind of guessed at what might be appropriate. That turned out surprisingly well -- I really should have put a bit more thought into my materials choice, but I was kind of going with a "this looks about right" approach.
Once I had all of the pieces either laser cut, 3D printed, or shipped from various online sources, I could toss everything together. My approach was incredibly simple in the end: hot glue whatever I could, and duct tape what I could not. The final version of the blade is almost exclusively held together by hot glue. If you have enough structural support built into the prop, this approach seems to work rather well.
Then it was just a matter of primer, spraypaint, and etching in the designs with a sharp object on the blade. The EL wire was wrapped inside the length of the plastic tube before anything was secured or painted, and in the right lighting conditions it shone through beautifully.
 |
| In all of its glory. |
My first built took two weeks of thinking, CADing, planning, and acquiring all of the parts. Then it was a week of late nights waiting for spraypaint to dry, gluing things together, printing last-minute parts to cover holes I had not anticipated, and finally getting the thing looking relatively pretty (hellooo modeling clay). I was making a costume during that last week as well, which did not help my timeline any.
 |
| Look, it lights up! ...as apparently do my eyes. All sorts of weird lighting things happening here. |
I am super happy with the result. But I know it can be better.
For a build that is meant to survive a couple of days at an anime convention, at most, my haphazard approach worked well. For anything more serious, however, my approach could have gotten me into some serious trouble. I will keep this in mind when I start on my fully metallic, and lighted, version of Myrtenaster. Onward to Dragon Con!
No comments:
Post a Comment